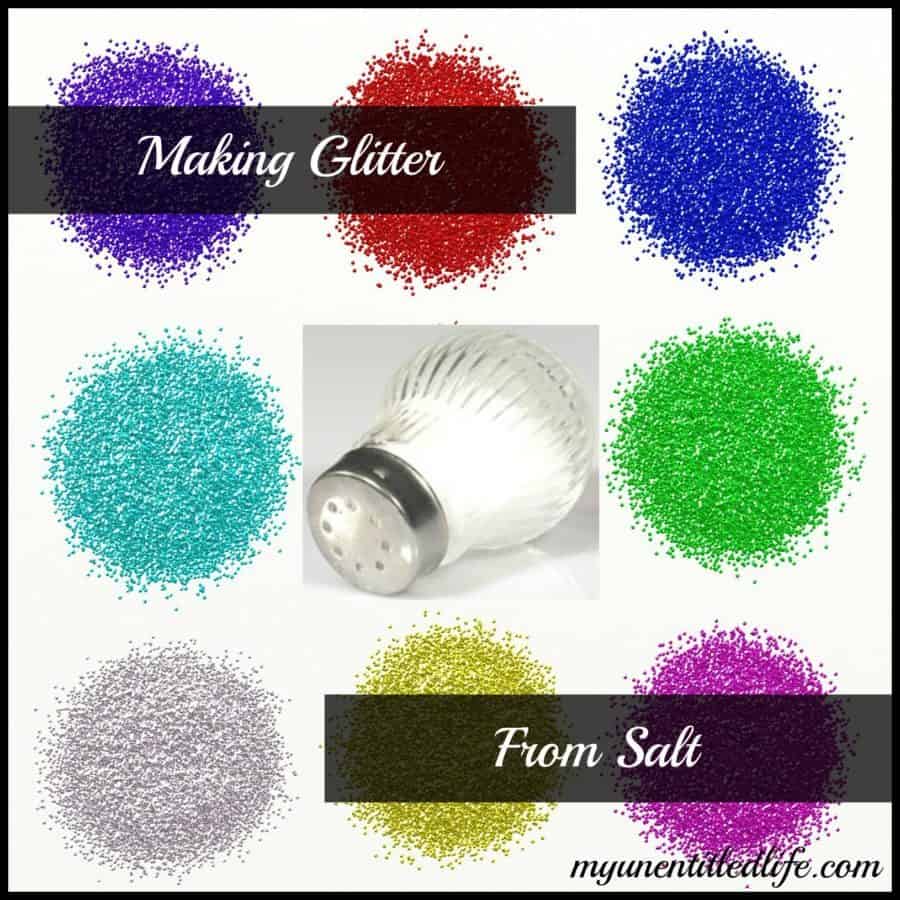
In my house, we love crafts and DIY projects so making glitter out of salt is a great one to do.
I do a lot of crafts with my daughter and she loves to add glitter to everything! The more glitter “bling”, the better; so, of course glitter is a staple in our craft closet. There are times when we run out of a specific color that we need and during those times, this homemade glitter from salt recipe comes in handy!
There are so many things you can do with glitter! But did you know you can make glitter from salt?
They add sparkle to just about anything and are the inspiration for a lot of craft ideas. However, you don’t need to go out and buy it. You can easily make your own with products you’ll find in your kitchen.
To make your own glitter from salt, you will need some salt, food coloring, aluminum foil and a cookie sheet. You will also need permission to use the oven.
To make your glitter, you will first need to choose the color you want your glitter to be. This is where you get to be creative. You are no longer restricted to what’s on the shelf at the store. You can experiment with the food coloring to create your own unique colors. Just play with the colors until you create one that you like.
If you don’t have any food coloring available you can use water color paints instead. They will work just as well.
When your food coloring is ready, pour about ½ cup of salt into a bowl. Add your food coloring, about one drop at a time, until it’s just the color you want. Mix it with a spoon. Your salt might start to dissolve, but that’s OK. That will be fixed when you bake the salt in the oven.
Cover your cookie sheet with foil. That will keep it from getting stained with your food coloring. Pour the salt out of the bowl onto a cookie sheet. Using your spoon, spread the salt in a thin, even layer across the sheet.
Preheat the oven to 375 degrees. You’re going to bake the salt to get rid of any moisture that was added when you poured in the food coloring. When the oven is ready, put your cookie sheet covered with salt into the oven. You need to bake it for about ten minutes.
After your salt is baked, take the cookie sheet out of the oven and let the glitter cool. Some clumps may have formed while you were baking. To get rid of them, just use a fork to break them up.
Now your homemade salt glitter is ready to use! Store it in a salt shaker so it’s ready to use whenever you need it.
If you used non-toxic food coloring to make your glitter, your glitter is also safe to eat. You can add some sparkle to your meal by putting your glitter in a salt shaker and sprinkling it on your food.
Now you can also have glitter ready to go when you need some, and you can amaze your friends with all the different colors you can create.
If you love crafts like I do, be sure to check out my daughter’s lip balm recipe and these DIY: Faux Stained Glass Windows or visit my DIY category on my blog for even more fun!


Leave a Reply