If there is one thing my family loves to do anytime of the year, but especially during the summer when we all have some time off and the weather is nice, it’s arts and crafts. We have a pretty impressive collection of craft supplies (I blame the fact that we live within 5 miles of 4 different craft stores, haha!) and we love putting on some music and letting our creativity flow! One of our favorite summer time crafts is any and all tie-dye! Tie-Dye is such a fun and easy way to update your wardrobe and personalize it. I’m pretty sure almost every piece of white clothing we own has now been transformed by tie-dye, ha! I always have people asking me what my tips for tie-dye are so I thought I would share them with everyone! Let’s get started shall we?
Here are my 10 tips for tie-dye fun:

Always protect your work space- Look, as fun as tie-dye is you are still working with pigments, and those pigments will stain everything from your fingers, to the table you work on and your counter tops (ask me how I know, ha!). So before you start any new project, make sure you have plenty of gloves and that you cover any work space you will be using.

Not all tie-dye kits are created equal- I have tried tons of different tie-dye kits from lots of different companies and let me tell you, they are not all the same. You can absolutely go cheaper when it comes to your pigments, but you will be sacrificing quality. A great kit that’s still budget friendly is Tulip brand. You should be able to find it ay any craft store (don’t forget to look for a coupon before you go!).
Youtube is your friend- Everything I learned about tie-dye I learned from the amazing creators on youtube. So many videos on different patterns, techniques, etc. You can find pretty much anything you can think of with a few keywords and a youtube search.

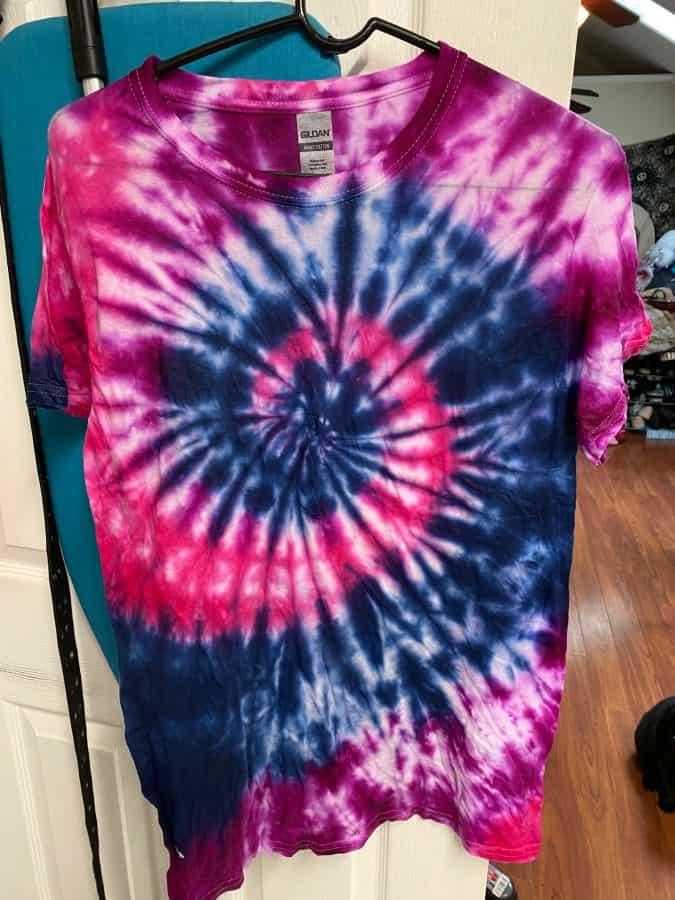
Learn to perfect the swirl- I have found that the swirl is the most soft after (and one of the coolest) tie-dye patterns out there, and it’s easier than you think it is! The above picture is the latest creation from my teen. For this technique all you need is a fork and some rubberbands. Lay your already damp shirt on a flat surface and where you want to start your swirl stick your fork into your fabric. Begin twirling your fork which will gather up your fabric into this pattern. Once you have your shirt into a full swirl, tie up with rubber bands and choose your colors. Easy as that!

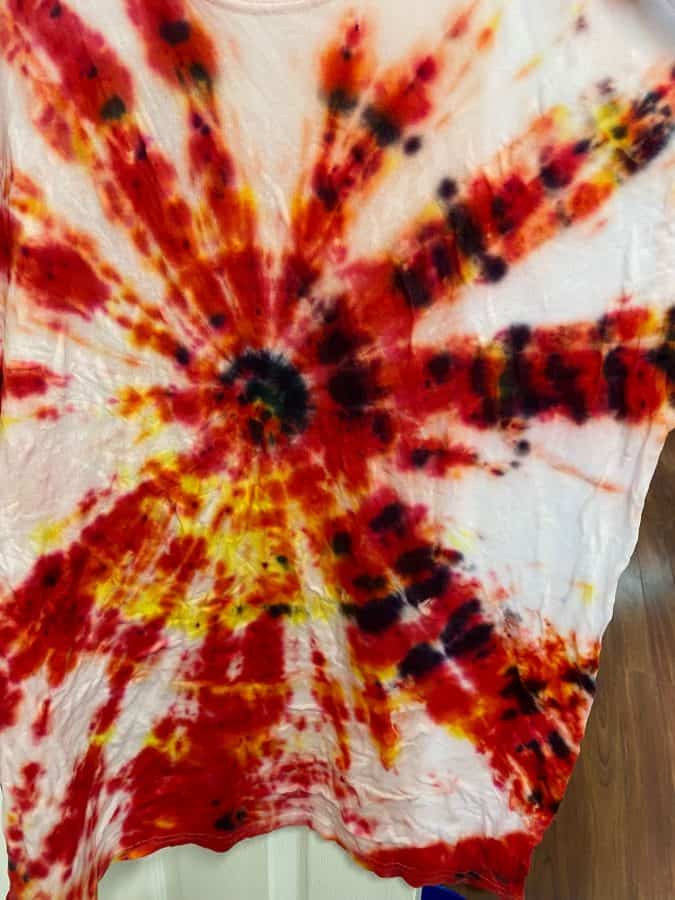
Don’t be afraid to try new techniques- The beauty of tie-dye is there is no right or wrong way to do it! More color, less color, bright, or pastel. Follow a pattern, or don’t! No matter how you do it I can almost guarantee that your project is going to turn out so cool. I just tried out this free hand airplane propeller pattern for this first time and I’m pretty stocked on how it came out, what do you think?
Don’t forget to pre-wash your shirt- Yes, every time. I know it’s an extra step, but it’s an important one. It will help your dye settle better and deeper. So take the time to pre-wash them! Speaking of shirts…
Tie-Dye works best of 100% blended shirts- This includes cotton, rayon, silk, etc. Any material that is 100% the same, the dye will not work as well on blends of fabrics. (It’s not impossible, it just won’t be as vibrant, or last as long).

Saturate, saturate, saturate- When coloring your fabric, when you think you have used enough dye, trust me and use a little more. When you wash your garment for the first time you are going to have fall out, the more you really get it in there, the better your colors are going to come out. This is especially true for lighter colors.
Have patience- When it comes to tie-dye there is a bit of a waiting game. If you want your colors to stick, you are going to have to wait it out! The longer you let the dye soak, the better it’s going to be. What I do is stick my projects into a plastic bag and let it sit about 24 hours before rinsing, and another 24 hours before washing it for the first time.

Combine your tie-dye with other fun skills- As you can see from above I love combining my tie-dye shirts with other mediums. I like to vinyl fun sayings on them. You could also play around with different cuts you can do on clothing, or even some premade iron on decals. It’s super fun to find out what would look good with the pattern you created.
Well there you have it! my Top 10 tips for tie-dye fun! Now get out there and make your day a little more colorful.
Looking for more crafty fun? Check out these posts:
- My 7 Tips for Crochet Beginners
- The & best places to buy vinyl (and 3 of the worst)
- 10 ways to save money on Cosplay
Make sure to follow us on pinterest, by email (top of the page) or on twitter to help see all our articles when they come out!


Love this I grew up in the Tie – Dye generation in the 70’s .