Ahhh the 1980’s it’s when large flowered wall paper and brass everything was all the rage. Well it’s now 2016 and it’s time for that brass to go. Am I right? It’s so easy to get rid of the brass and you will have a new lamp that you love. Check out my easy diy brass lamps makeover and redo your own lamps!
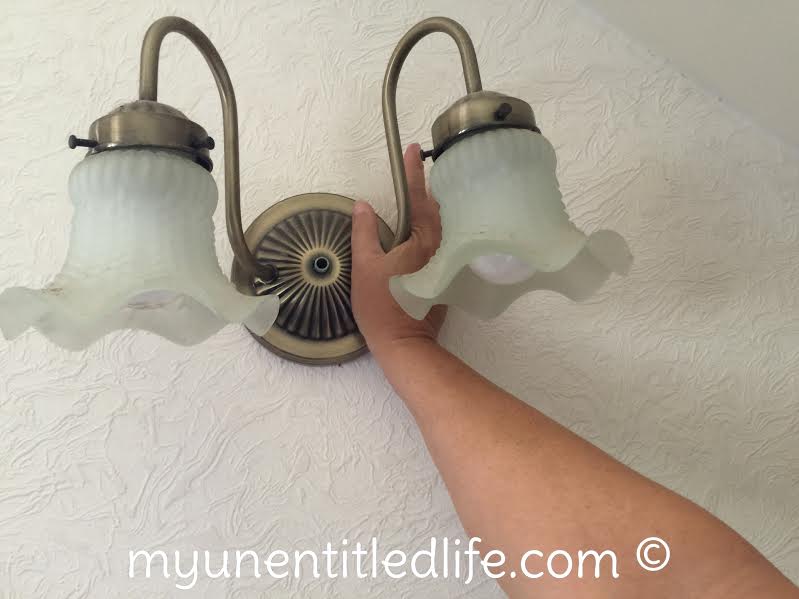 This is what was hanging in my son’s room. So ugly! I’m trying to decide if I can paint it and change out the globes and hang them outside or just get rid of these!
DIY Brass Lamp Makeover
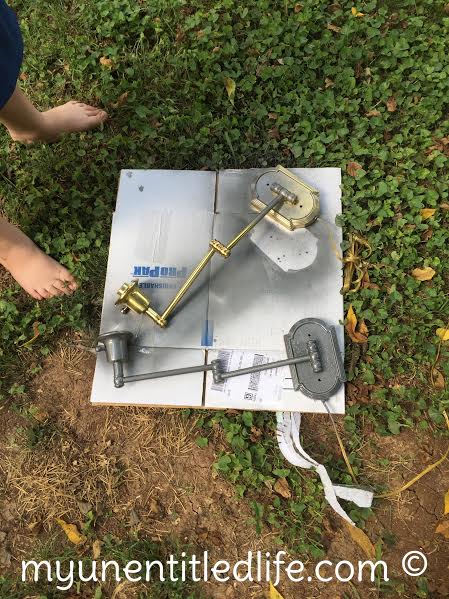
First bring your lamps, mine are actually sconces, down and take outside.
Lay it on newspaper or cardboard.
Purchase Hammered Metal Spray paint.
You can use sandpaper but it’s not necessary. I’ve done this 3 or 4 times and have never sandpapered it first. The paint always sticks.
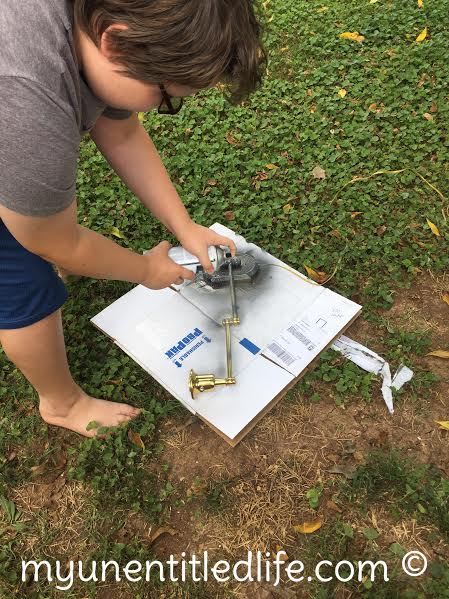
Spray lamps about 6-8 inches away from lamp (not like he’s doing!).
Let Dry. I let it dry about 45 minutes.
Flip over and do the other sides.
Let Dry.
Check to make sure it’s covered evenly.
Spray any spots missed.
Grab other hardware like the pieces that hold the lampshade on and the light bulb.
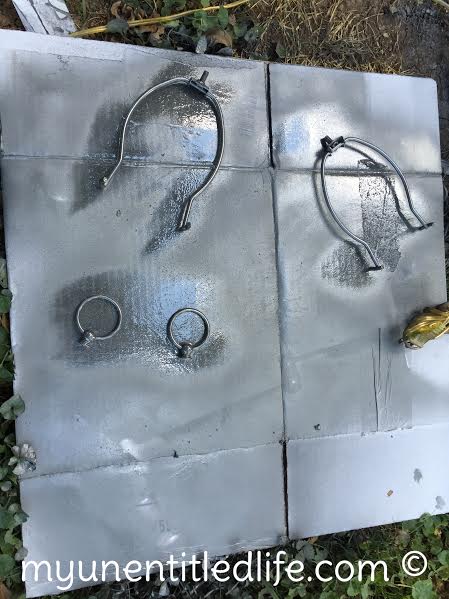
Spray them and let them dry.
Put back together.
Put on table or like me hang on wall.
I bought these lamps from a friend for $10. Thanks Cindy! What a bargain to replace those very ugly 1980’s sconces. These look so nice now in my son’s room. He loves that they’re not brass. The spray paint was about $7. So total spent $17 and I still have half a can of spray left. I know I’ll use it again too! You’ve seen my other diy projects!
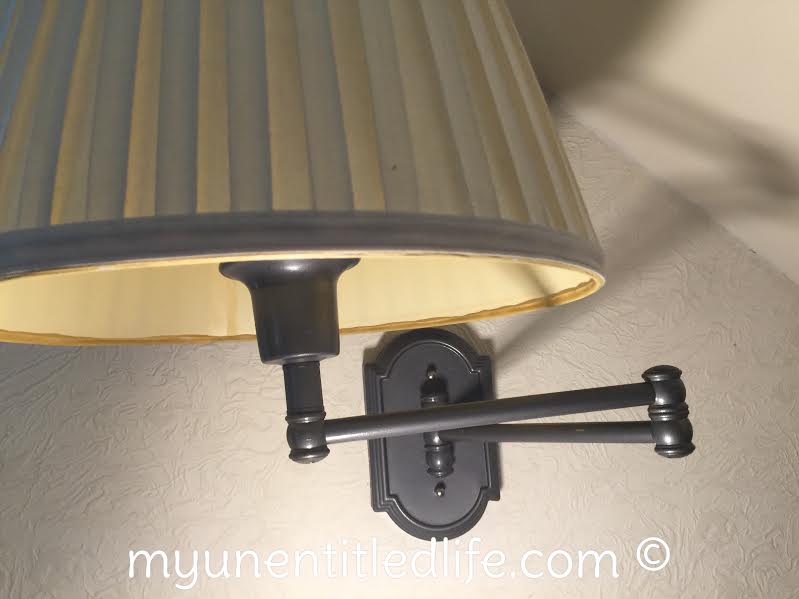 I love how they turned out. They’re so beautiful now!
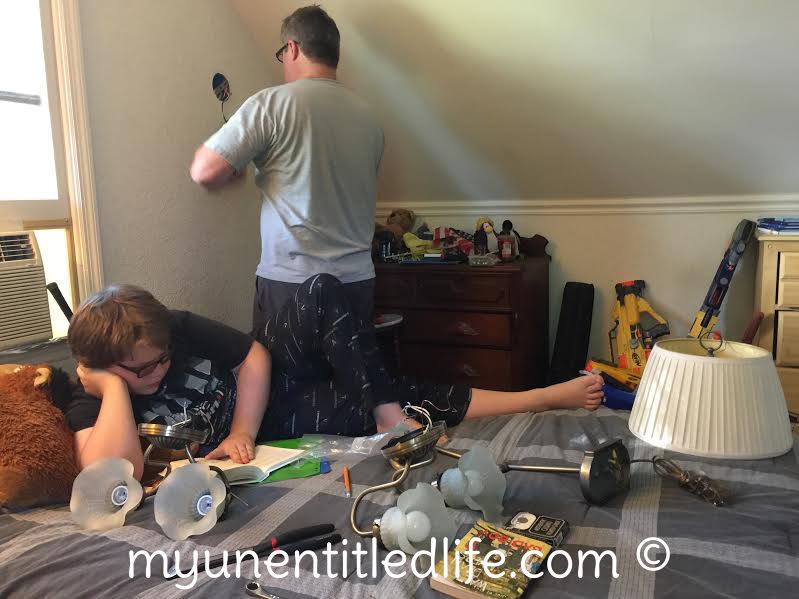
Shenanigans while doing the project!
Do you have any brass you’d like to cover? What other ways have you covered the brass? Let me know in a comment I love to read how crafty you guys are!



This is a great way to update outdated fixtures for a little cost. It is crazy how expensive replacing lighting fixtures can be. My mom even spray painted her old ceiling fan blades to give the play room a makeover.